How to Show Critical Path in MS Project
November 4, 2025 / Estimated reading time: 3 minutes

By nature, projects consist of tasks. But not every task directly impacts on project duration or accomplishment. Some assignments are critical and any changes in them will influence all other tasks and the whole project. This is where we can speak about the critical path.
From this article, as a part of our MS Project tutorial for beginners, you will learn more about the critical path in Micorosft Project.
- What is the critical path?
- The critical path and Gantt charts.
- The purpose of the critical path.
- How to show critical path in MS Project.
What is the critical path?
The chain of the linked assignments makes the critical path. This is the shortest way to fulfill a project. If something goes wrong with one of them, it will affect the accomplishment date of the entire project. Pay attention that even a single task from a project can make the critical path. Also, note that critical path method in project management is based on this technique.
The critical path and Gantt charts
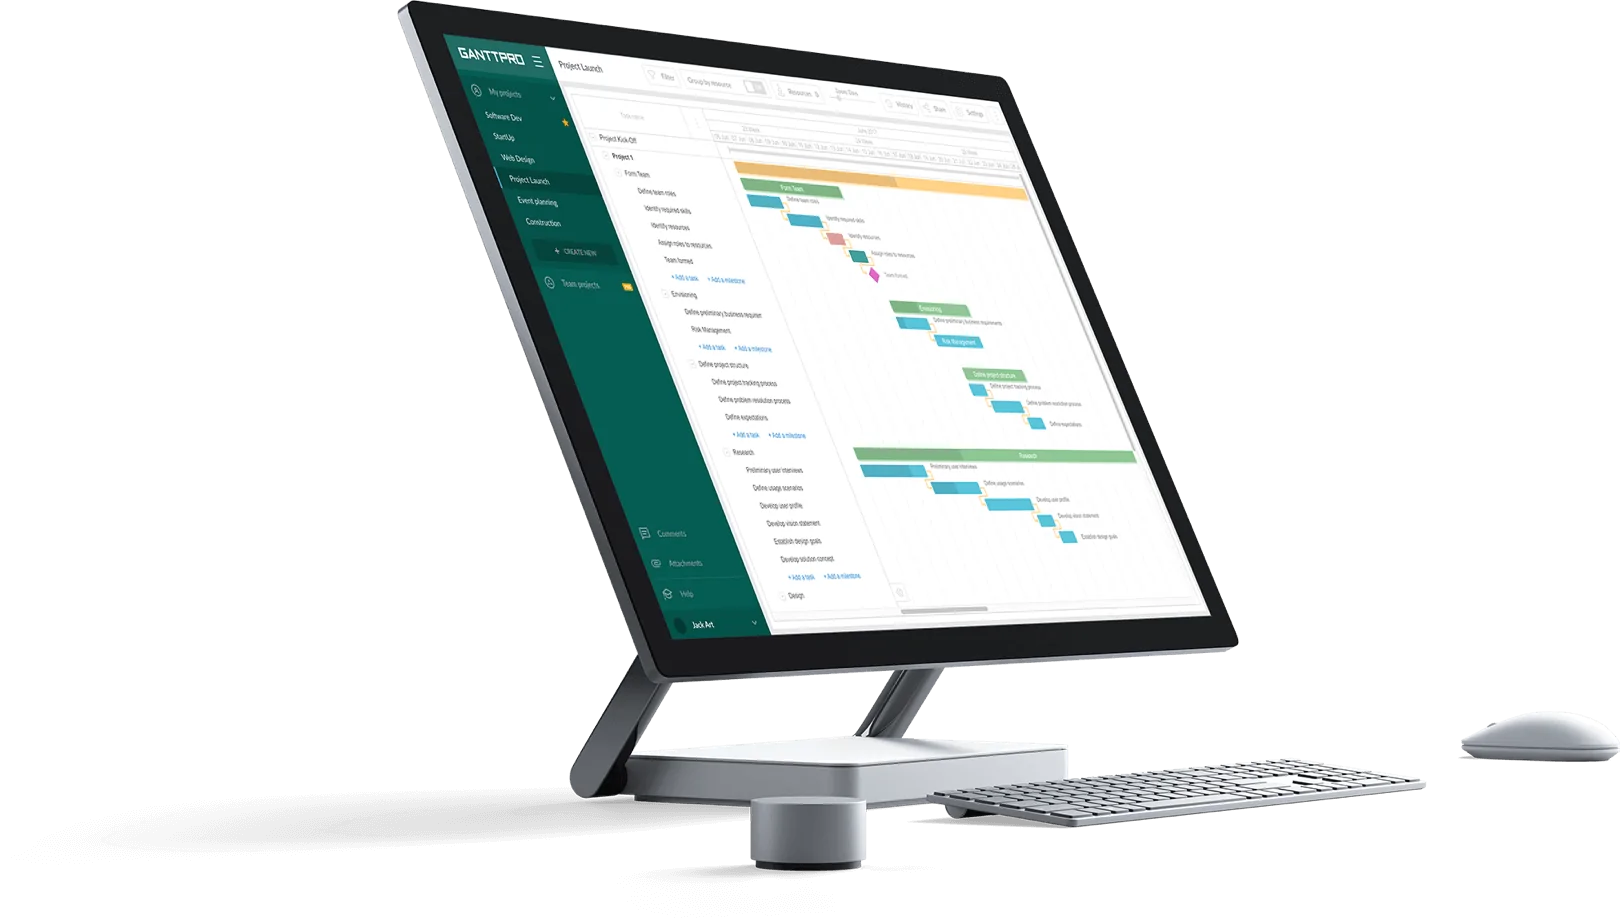
The most convenient way to view, track, and work with the critical path is to use a Gantt chart maker. It perfectly shows all the assignments that look like bars on a timeline with dates. There is nothing difficult in building it. Most of the software allows enabling the critical path and all the crucial tasks will be highlighted in some other color.
The purpose of the critical path
This efficient tool is able to foresee risks, avoid them in a timely manner, and simply save your plan from project scope creep. With that in mind, do the following:
- Monitor it. Remember that each task in the chain is critical. Once it slips, it can ruin your project.
- Regularly view it. The critical path is not a static chain of tasks. They can change depending on their statuses.
- Have a close look at all other tasks. Note that any chain of assignments can become the critical path if there is a significant slippage inside it.
How to show critical path in MS Project
Let’s figure out how to enable and show the critical path in Microsoft Project, the very popular critical path planner.
To show the critical path in MS Project, in the Gantt chart view, we go to Format, then Critical path.
So, we click View tab → Gantt chart.
Format tab → Critical tasks.
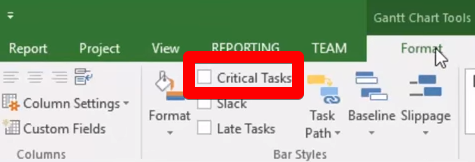
After that, critical assignments will be highlighted in red.
But what if you have a lot of tasks and crucial ones are spread in your project so you need to view only critical ones? The Microsoft product offers solutions. To show the critical path in MS Project in other views, we go to the View button and apply the filter.
View → Filter → Critical.
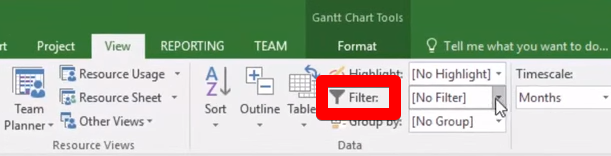
This option will allow you to see in red only those duties that make the critical path.
This was the way of how to show the critical path in MS Project. However, if you are not a Microsoft Project fan or you find the tool quite difficult to work in, you can go on and choose other tools to enable the critical path in your project. For example, GanttPRO online Gantt chart maker.
How to show the critical path in GanttPRO
In case you find Microsoft Project and the Gantt chart critical path in it complicated, try GanttPRO as one of the best MS Project alternatives.
To enable this feature, you literally need to click twice: Project settings button and the Critical path toggle – that’s it!
In GanttPRO, it’s very simple to work with assignments, teams, and the entire project. Try it for free!
Gantt chart project management tool
Plan and manage your projects easily with Gantt charts.
Sign up for free