How to Use GanttPRO for Resource Management
November 11, 2025 / Estimated reading time: 19 minutes

Effective project management requires smart use of resources. To plan and control them thoroughly, teams need a powerful online tool.
If you want to succeed in this field, it’s high time to explore how to use GanttPRO for resource management, as this platform is one of the best online solutions for this purpose.
The software comes with a wide range of advanced features and offers a systematic approach to organizing work assets. It provides a comprehensive view of workload, helps prevent resource conflicts, and facilitates project planning.
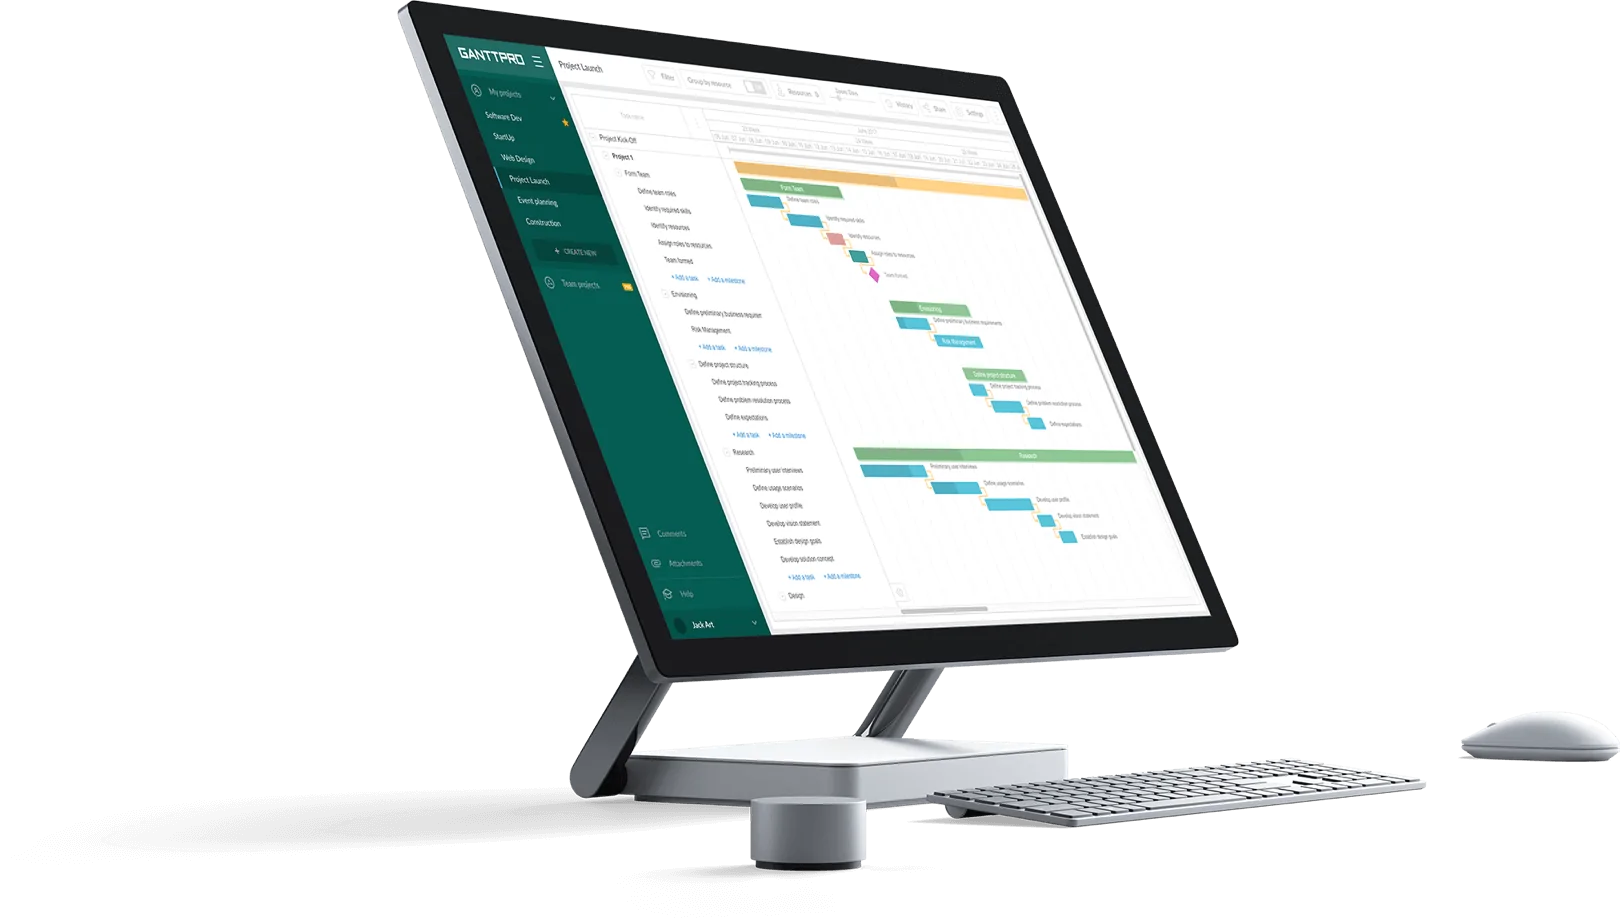
Let’s take a closer look at how this online Gantt chart software can make resource management your real strength.
Contents:
- What resources you can manage in GanttPRO.
- Resource management at a project level.
- Resource management at an account level.
Even seasoned project specialists face resource constraints or limited ability to manage their assets. Statistics confirm this.
For example, according to the RGPM Project Management Survey (2024), more than 44% of project managers admit that they often lack resources to manage projects effectively.

This data highlights the importance of professional resource management and the need to integrate it into the overall project plan.
Regardless of your team’s size, industry, field of activity, or project complexity, it’s essential to ensure a clear visualization of all resources involved. An online Gantt chart in GanttPRO helps to do it professionally.
But before you dive into the vast capabilities of this software for resource scheduling, you may want to check out the following articles:
- How to set up your project in GanttPRO: step-by-step tutorial.
- Tips and tricks for getting the most out of GanttPRO.
- Top 10 features project managers and teams love about GanttPRO.
- 6 top use cases GanttPRO users love.
- What you can do in GanttPRO on a free trial.
- How to organize your team’s workflow in GanttPRO.
- How to manage multiple projects simultaneously in GanttPRO
- How to collaborate with external stakeholders in GanttPRO.
- Why teams love the Gantt chart in GanttPRO.
What resources you can manage in GanttPRO
Your team may be involved in a variety of spheres and industries, from IT to construction. Therefore, you may need different types of resources in project management, including:
- Human resources.
- Time.
- Consumables and materials.
- Financial resources.
- Equipment and tools.
- Facilities.
- Information and knowledge, and more.
You can easily plan and manage all these types in GanttPRO.
The software ensures that resource allocation in project management becomes the basis for a smooth workflow.
This thought is confirmed by Dr. Rüdiger B., the Head of Research and Development, who works in the electronic manufacturing sphere:
GanttPRO is an easy-to-use Gantt chart tool that allows for easy management of development projects in our large team. It allows for good resource management. Much better than any other tool I checked.
The platform allows you to work with three types of resources:
- Labor resources involve team members or virtual resources such as freelancers, vendors, outsourced contractors, or other specialists. They are charged per hour.
- Material resources include physical materials used in a project. For example, equipment, software, vehicles, facilities, etc. They are charged per item.
- Resources with a fixed cost involve legal permits, licenses, employees’ bonuses, consultancy services, and everything that has a defined cost and doesn’t require calculations (but forms part of the overall project budget). They cannot be calculated per hour or per item. These resources are not displayed in the resource workload window, which we’ll describe below.
GanttPRO offers two cost calculation methods to manage resources:
- Manual method. You may use this budget calculation option if there is a need to adjust your project costs frequently. It will suit your team if you prefer to control budget details yourself.
- Automatic method. This option means quicker setup and management. It automatically estimates costs based on the cost values of your resources.
You can apply one of the budget calculation modes for each project, not for all projects in your account.
Now let’s take a closer look at how GanttPRO can help you organize your team and add virtual resources to your project.
Team members
Project planning always requires the participation of real people, even if you deal with innovations and the latest technologies.
Depending on the sphere, your team may include different specialists.
For example, a typical IT project involves managers, developers, designers, QA specialists, marketers, content writers, SEO specialists, and more.
GanttPRO helps organize teamwork professionally, allowing you to easily invite the necessary participants.
Your project will display all the people involved in it, as well as all resources that you may use for work organization.
The number of your project participants is not limited.
Virtual resources
The capability to add virtual resources is a unique characteristic and distinctive feature of GanttPRO.
The process doesn’t require much time or special effort. It truly sets the software apart from its competitors and makes it popular among project teams.
A virtual resource can be anyone or anything: a developer, a designer, a server, an excavator, and so on.
As a GanttPRO user, you can define the working time units and associated costs of your virtual resources. Therefore, it’s easy to integrate them into the project planning process.
The best thing about it is that the software allows you to add an unlimited number of virtual resources, regardless of your plan.
Here’s how Logan Diller, a research scientist, evaluates this feature:
My schedule includes multiple pieces of machinery that I entered into GanttPRO as virtual resources. I also use the calendar view daily to see how long each machine needs to run and keep me on track. I would recommend GanttPRO to anyone who needs to schedule because it is easy to use and very versatile.
Now let’s take a closer look at how to add, organize, and manage different types of resources in GanttPRO, whether working within a specific project or at the level of your entire account.
Resource management at a project level
GanttPRO allows for planning and managing team members and resources within a certain project. It means you can focus on the tasks and resources of a specific project and not be distracted by other assets involved in overall company initiatives.
Let’s figure this process out.
Managing people and virtual resources
To manage team members and resources in a project, you first need to invite and add them. It’s quite easy to do it in GanttPRO.
Let’s start with real people.
Here are the steps for adding a team member directly to a project:
- Open a project or create a new one if you don’t have it yet. Go to the People tab. It is located in the top menu where the tabs with project views are displayed.
- Click the Invite users button. The two tabs in the appeared window will be displayed: Choose from the team on the left side and Invite new by email on the right side.
- Explore available account users in the left tab. Check the boxes next to the members you want. If the users you need are not yet added to your account, go to the right tab. You’ll see the field where you can type or paste the email addresses of new participants.
If you need a detailed visual representation of this process, watch the following video. The description of inviting a team member directly from a project starts at 0.57 sec.
Once you’ve invited people to join your project, it’s time to think about their rights, as they will likely have different capabilities and responsibilities.
You can configure these rights for every project user. It will help them focus on specific tasks and not be overloaded with unnecessary data.
These project rights are default in GanttPRO:
- Project Owner.
- Project Admin.
- Project Editor.
- Advanced Member.
There are also additional options:
- Limited Member (available for Business and Enterprise plans).
- Commentator (available for Business and Enterprise plans).
The Enterprise users are allowed to create fully customized rights.
You can learn more about GanttPRO plans here.

In case you want to delete a certain user from a project, you have a quick option to do so.
While staying in the People tab, hover over this user and click on the Delete icon.
You can also delete a person from your project, using the Account settings, but we’ll describe it below.
What about virtual resources?
You can add and manage them by switching to the corresponding tab inside People.
Just click the Add resources button on the right.

You’ll see the appeared window with two tabs: Choose from the team on the left side and Create new on the right.
All available virtual resources from your project team will be shown in the left tab.
In the right one, you can create a new virtual resource, specifying its name and color.

You may need to replace a virtual resource with a real team member. This is not a problem in GanttPRO.
The software offers a unique virtual resource conversion feature. You will need just a few clicks to make such a transformation.
It can be applied to any project. However, be sure you are going to make a conversion within a specific initiative, because it’s not possible to do it at the account level.
The process itself doesn’t require hard manual work.
To convert a virtual resource into a real user, select the desired asset by hovering over it and transform it by clicking Convert into real user on the right.
You’ll also get the option to delete this virtual resource from the chosen project after the conversion.

The reverse procedure of converting a real user into a virtual resource is also available in GanttPRO. However, we will describe it below in the article’s part about resource management capabilities at the account level.
Additionally, inside the People tab, you can specify the type of resource costs: per hour, per item, or just cost.
After you have identified new team members and virtual resources, you can assign tasks to them.
It’s easy to do it on a Gantt chart in the standard Assigned field, which you see by default in any newly created project in GanttPRO.
This field allows you to assign resources and set the number of hours for a certain task, as well as specify the number of working hours per day for this activity.
It’s allowed to assign as many assets to a task as needed.

Another standard fields in GanttPRO that may be helpful for effective resource management are Duration and Estimation.
By checking the box in the field list to display the Duration field, you can track the completion time frames of each project task. It’s also possible to set duration straight from the project grid and in Task settings.
By displaying the Estimation field, you can monitor the time that has been allocated to complete every single task. As in the case with Duration, you can also define Estimation straight from the project grid and in Task settings.

Managing workload
The next advanced functionality appreciated by GanttPRO users is workload management. It helps to effectively distribute tasks between team members, as well as control the use of resources and the working time of everyone involved.
Harsha Vardhan Kaparthi, the user of GanttPRO, admits:
I need to track the time of the workload and its distribution for an effective multi-year project. GanttPRO improves productivity and self-awareness in time management. It saves time, prevents burnout from poor planning, and provides a professional project management framework.
You can manage workload at the project level in two different ways: from the corresponding window at the bottom of your screen or from the Workload tab in the top menu.
It’s worth mentioning that in both cases, you can only make the workload analysis of labor resources (whose costs are calculated per hour).
How to manage workload from the Workload window?
This option, which can be found at the bottom of your screen, looks helpful when you need to see a Gantt chart, a project grid, and a workload at the same time.
This window is pretty useful for a quick overview. You can expand and collapse it by clicking on the corresponding sign under a Gantt chart.

The Workload window allows you to:
- Visualize a list of all project participants.
- Open the personal calendars of project participants by clicking on the calendar icon. You can set up their working schedules, days off, exceptions, and more.
- Choose whether you need to see the workload for this project or for all active projects.
- Define whether you want to see the workload in hours, tasks, or percentages (if it was configured in project settings).
- Expand the workload for project participants.
- Change Zoom options for displaying the workload, and more.
An overview of the workload status will be shown using specific colors:
- Red shows overloading.
- Green demonstrates optimal resource utilization.
- White indicates available capacity. It means that certain employees can take on additional tasks.
A half-covered cell shows that a teammate’s capacity is not used to the fullest.
You may also see a red human icon. It appears beside the name of any team member who is assigned more tasks than they can handle.
How to manage workload from the Workload tab?
When you don’t necessarily need to look at a Gantt chart, a project grid, and a workload at the same time, it’s better to use the Workload tab located in the top menu.
By opening this tab, you can:
- Explore a list of all project participants and unassigned tasks.
- Set up the mode of workload display (hours, tasks, or percentages).
- Configure the time range for the displayed workload.
- Click on the expand/collapse arrow near a person’s name to expand/collapse their workloads.
- Work with the personal calendars of project users by clicking on the calendar icon. It’ll allow you to set up working schedules, days off, exceptions, etc.
- Apply filters to find particular pieces of information and save them.
- Use Zoom options.
- Share workload information with stakeholders and export it to insert into reports and presentations, and more.

Resource management at an account level
Resource planning for multiple projects is one of the many reasons why teams choose GanttPRO.
You can track your colleagues’ work and manage resources across the entire account. It allows for covering multiple projects and makes management as efficient as possible.
This kind of account-level multitasking may seem complicated at first, but GanttPRO handles it effortlessly.
Let’s see how it works.
Managing people and virtual resources
If you want to organize people and virtual resources at the account level, you need to open the Team and resources tab. It is located in Account settings, which you can see in the bottom-left corner.
As with the People tab in the top menu, there are also two tabs here: People and Virtual resources.
Let’s explore the left tab first.
Click the Invite by email button to add new users to your account.
In the appeared window, you can enter or paste the emails of the people you want to invite, considering the limits of the seats available in your account. It’s easy to track how many seats are left in the top right corner.
It’s also possible to change the account roles of new users in this window. The available options are:
- Account Owner.
- Account Admin.
- Account Member.
- Custom role (for Enterprise plan users).
If needed, you can assign them to any project right here.
After pressing the Send invitation button, the corresponding emails will be sent to the selected users.
Feel free to explore more details in the video below.
This way, you can see all the responsible participants and don’t lose sight of each team member.
In case you have Business or Enterprise plans, you can set personal calendars for each team member and resource. These calendars will simplify the calculation of task estimation and duration, as well as help you in workload and cost management.
To do it, click on a particular user. You’ll see their personal user card, where you can choose Personal calendar on the right.

By clicking on it, you’ll get a new window where you can customize the working schedule for this user (if their schedule differs from the rest).
It’s also possible to set working hours in 30-minute intervals and specify possible exceptions like days off, non-standard working hours, etc.

In addition to working with a personal calendar, user cards allow you to track projects that users participate in, view their rights by project, filter data, and much more.
However, there may be cases when you need to delete users.
If you are an Account Owner, you can remove people from your account entirely or from specific projects.
Account Admins can also delete people from an account and from the projects they are a part of, and if they have Project Owner or Project Admin rights. This option is also available for the Enterprise users with Custom roles and permission to manage resources in an account.
There are two ways to do it:
- Open Team and resources in the Account settings. Then, hover over a team member you need to delete. Click on the Delete icon.
- In the same section, click on the user you want to remove. A user card will be opened. Click on the Delete icon next to the user’s name. This person will get an email notification about the deletion.
However, there is one more case. You may need to convert a real user to a virtual resource when deleting them from your account.
With GanttPRO, you won’t lose any person’s data.
Such a conversion is available together with the deletion option when you remove a user.
After choosing it, you’ll get a virtual resource with the same name as your user. All their activities will be reassigned to the new resource.
It’s worth reminding that this feature is available only on the Enterprise plan.
Now it’s time to describe the right option in the Team and resources tab, which is called Virtual resources.
GanttPRO allows you to add virtual resources to the entire account.
To do it, find the + Create new button in the Virtual resources tab and click it to add a particular resource.

You’ll see the appeared window, where you can add the name of your new resource, choose a color to display it, and specify the project you want to add this resource to.
In case you don’t select any project, this resource will be added to the entire account. You’ll be able to choose it from the list afterward.
Click on Create after you are done.

You can add an unlimited number of virtual resources, regardless of your account plan. However, only an Account Owner, Account Admins, or Enterprise users with a Custom role and corresponding permission can do it.
The Search by resource name field will assist you if you have a long list of virtual resources.
Additionally, in the Team and Resources tab, you can add virtual resources to your account and to multiple projects simultaneously.
Click on a required virtual resource to open its card. As with adding a real person, click the + Add to project button.
Then choose the project (or several projects) you want to add this resource to in the emerging window. Click on Select all if you need to add it to all your projects at once.
A search bar will assist you in finding a particular project.
What if you want to delete virtual resources from your account?
First of all, it can be done by an Account Owner, Account Admins, or Enterprise users with a Custom role and corresponding permission.
Follow one of three options to remove a virtual resource from your account, staying in the Virtual resources tab:
- Hover over a certain resource you want to delete and click Delete.
- Tick the required resources and then click on Delete resources. It’s worth adding that with this option, you can delete multiple virtual resources from your account at once.
- Click on the virtual resource you want to remove. It will open its resource card. Then click on the Delete icon next to this resource’s name.
Removing a virtual resource from your account will delete it from all projects and tasks assigned to this resource.
Managing workload
You may face a scenario when a participant of one project is totally overwhelmed, a member of another initiative has free time, and the whole team involved in a different project is busy with less important activities instead of focusing on critical tasks.
Luckily, it’s possible to arrange and control the workload of all resources available in your account and for all projects.
The Workload tab, which is placed on the left sidebar, will assist you. With its help, you can see the list of all team members and resources available in your account.
It actually provides the same capabilities as the Workload tab located in the top menu.
You can set up filters and save them to work with particular parameters, such as priority, dates, statuses, and more.

This overview of GanttPRO’s capabilities for working with resources won’t be complete without mentioning the drag-and-drop feature.
It allows you to move task bars horizontally across a timeline to easily change start and end dates for a specific assignee. You can also move tasks vertically between project participants to reassign them.
Note: if you try to drag a task to a resource that is not a member of the chosen project, it will remain in its original location. You will also see a notification in the upper right corner. It will state that the person you are trying to reassign this task to is not added to this project.
Finally, GanttPRO allows for gathering the information related to your project resources and generating handy reports. It saves time and prevents possible bottlenecks in the future.
You may use a variety of reports presented in 3 general categories:
- Progress.
- Budget.
- Time on tasks.
That’s all we wanted to tell you about resource management in GanttPRO.
Professional resource management software
Allocate project resources, manage workload, and enhance team communication.
Sign up for freePlan, organize, and control your project resources effectively with GanttPRO
The success of any project largely depends on correct resource allocation. It doesn’t matter how detailed your plan is. Without a clear understanding of who will do what, when, and how, your initiative is doomed to missed deadlines, budget overruns, and internal team chaos.
GanttPRO is designed to eliminate the main pain points of resource planning. You forget about scheduling conflicts, overloading employees, and irrational use of a budget.
The Gantt chart creator provides full transparency of asset allocation, both at the level of a specific project and your entire account. It allows you to quickly adjust plans when circumstances change.
Entrust your resource allocation and workload management to the software solution appreciated by successful teams around the world.
Read also
Join 1M+ project managers!
Create Gantt charts in minutes with GanttPRO and reduce time spent on managing tasks by 40%
Try for freeNo credit cards required. No obligation.